Table of Contents
ToggleA well-designed storage shelf with bins transforms chaotic spaces into functional organization hubs. Whether you’re tackling a garage, closet, or pantry, shelving for storage bins offers a practical solution that keeps items accessible while saving floor space. This guide walks through material selection, installation steps, and organization strategies to help you build a system that works for your home. You’ll learn the difference between DIY-friendly options and when to call a pro, plus how to choose bins that actually fit your shelves and lifestyle.
Key Takeaways
- A storage shelf with bins saves floor space by using vertical wall storage, making it ideal for basements, bedrooms, and kitchens where square footage is limited.
- Steel shelving (16-gauge minimum) handles 500+ pounds per shelf and resists moisture, while wood shelves sag over 36 inches without support, so choose materials based on your load and environment.
- Always anchor shelves directly into wall studs with proper hardware; shelves supporting over 200 pounds require two people and careful leveling to prevent dangerous falls.
- Label every bin with contents and storage date, place frequently accessed items at eye level, and keep heavy items lower to maintain an organized system you’ll actually use.
- Pair steel frames with powder-coated finishes and polypropylene plastic bins for durability; avoid particleboard shelves and cheaper PVC options that compress, warp, or degrade over time.
- A thoughtfully designed storage shelf system pays off within weeks by reducing time spent searching for items and preventing duplicate purchases across multiple storage locations.
Why Storage Shelves with Bins Are Essential for Home Organization
Storage shelves with bins solve one of the biggest DIY headaches: clutter without a home. A well-organized shelf system keeps items visible, protects them from dust, and makes finding things fast, no more digging through a pile to locate one wrench or a box of holiday lights. Bins stack vertically, so you’re using wall space instead of eating up floor area, which matters in basements, bedrooms, and kitchens where every square foot counts.
Beyond functionality, shelves with bins create visual calm. Uniform containers create a sense of order that actually makes you want to maintain the system. People who install storage shelves with bins report spending less time searching for items and less money replacing lost stuff. The initial investment in materials and time pays off within weeks.
Choosing the Right Shelf and Bin Materials
Your choice of shelf material depends on load, budget, and environment. Solid-wood shelves (1×10 or 1×12 pine) cost less upfront and look finished, but they sag under heavy loads spanning more than 36 inches without middle support. Steel shelving (16-gauge minimum) handles 500+ pounds per shelf and resists moisture, making it ideal for garages and basements. Plywood is economical and stable if you add edge banding or a trim to hide the layers. Metal-framed units with MDF (medium-density fiberboard) shelves offer a middle ground: durable frames, affordable shelves, and easy assembly.
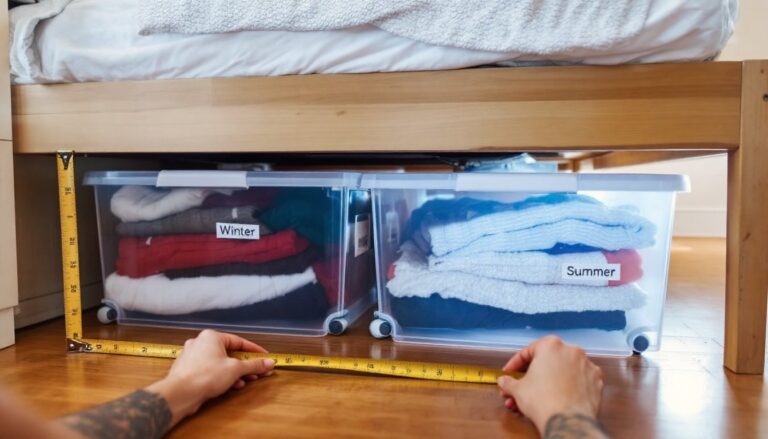
Bins matter as much as shelves. Clear plastic bins let you see contents without opening them, huge time-saver. Fabric bins with labels work well for closets but can hide moisture issues. Heavy-duty, stackable bins with secure lids protect against dust and pests. Check dimensions carefully: a bin labeled “17-inch wide” may be 16.5 inches, so measure your shelf width and leave a quarter-inch clearance per side.
Materials That Work Best for Durability
For longevity, pair steel frames with powder-coated finishes. They resist rust and moisture, outlasting wood in damp spaces. If you’re building shelves for a craft room or office, Craft Storage Containers: Transform provides detailed solutions tailored to delicate items. Wood shelves in dry climates last 15+ years if treated with a sealant and supported properly. Avoid particleboard shelves for heavy loads, they compress and warp. For bins, polypropylene plastic resists temperature swings and UV damage far better than cheaper PVC options. If bins will stack tall, look for units with reinforced sidewalls and snap-lock lids.
Step-by-Step Installation Guide
Before you start: Find and mark wall studs with a stud finder. Shelves must anchor to studs or use heavy-duty anchors rated for your expected load. Measure twice, mark once, crooked shelves are a pain to fix.
For wood shelves on cleats:
- Cut pressure-treated cleats (2×4 or 2×3) to length, slightly shorter than your shelf width.
- Level your cleat marks on the wall at your desired height using a spirit level.
- Drill pilot holes and screw cleats directly into studs with 3-inch deck screws (2 per cleat, minimum).
- Set your shelf on the cleats and screw down from the shelf underside to lock it in place.
- Check for level again after seating the shelf, adjustments now prevent wobble later.
For pre-made shelving units:
- Follow the manufacturer’s assembly guide exactly. Most need front and back uprights anchored to studs.
- Use shims to level the frame before tightening all bolts, tighten fully only when level is confirmed.
- If the wall is uneven (older homes often are), shim the base to keep the unit plumb, not the wall.
Safety note: Shelves supporting more than 200 pounds need a second person to hold level while you anchor. Never skip this step, a falling shelf is a serious injury risk.
Load limits matter. A 36-inch wood shelf on 16-inch stud spacing handles 75–100 pounds safely. Metal shelving with proper bracketing handles 300+ pounds. Distribute weight evenly and don’t cluster heavy bins on one end.
Organizing and Labeling Your Bins for Maximum Efficiency
The best shelf system fails without a labeling strategy. Label every bin, including what’s inside and when it was stored (helpful for seasonal items). Use a label maker or permanent marker, handwriting fades and peels. For frequently accessed bins, place them at eye level and within arm’s reach. Heavy items go lower: lightweight seasonal stuff goes higher.
Group by category: tools with tools, holiday décor together, craft supplies clustered. This prevents the “three bins open at once” chaos. Rotate bins quarterly to spot forgotten items and refresh labels. If you’re managing multiple storage areas, a simple inventory spreadsheet, even a phone note, tracks what’s where. Many people don’t realize they own duplicates because things are scattered across three different bins in two different rooms.
When choosing bins, consider your household’s habits. If someone always grabs from the top, shallow bins prevent searching. If items nest (small toys in larger containers), graduated bin sizes reduce wasted space. Stackable Storage: Transform Cluttered Spaces into Organized Havens shows how vertical organization keeps daily-use items accessible while freeing floor space. Label front and spine, spine labels are lifesavers when bins are stacked high.
Design Tips to Maximize Space and Aesthetics
Match shelf spacing to your bins. Most standard storage containers are 12–15 inches tall: measure yours and add 2 inches of clearance per shelf. Adjustable shelves give flexibility, you can tighten spacing as needs change. Paint the back wall a light neutral or use Ana White’s free DIY furniture plans to build stylish backing that hides the wall and creates a polished look.
Consider depth thoughtfully. Deep shelves (18+ inches) swallow items in the back: 12–14 inches is usually enough and uses wall space efficiently. If you want bins visible, say, in a home office, arrange them spine-out like books. Mismatched containers? Use a coordinating color palette: two grays, one white, one clear creates visual interest without chaos.
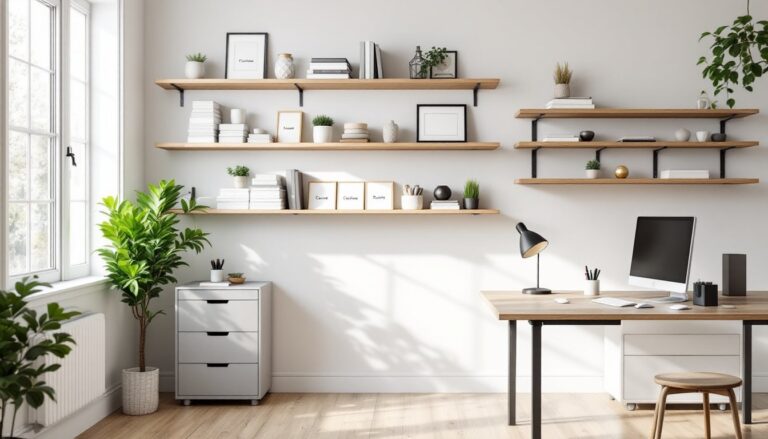
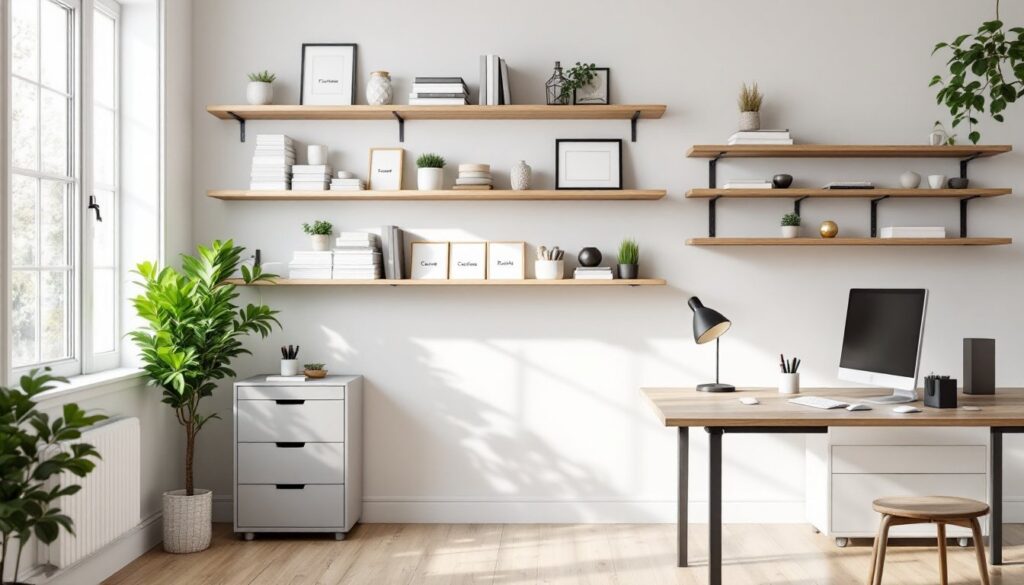
For high-traffic areas (kitchens, mudrooms), open shelves with Shelf Storage Solutions: Transform blend function and design. Mount floating shelves on steel brackets for a modern feel, or go rustic with wood and wrought-iron hangers. Lighting matters, add LED strip lighting under each shelf to highlight organized bins and aid visibility. Avoid painting shelves dark colors: they absorb light and make spaces feel smaller.
Inspiration from Martha Stewart’s organization guides shows how cohesive bin design, matching labels, uniform containers, strategic spacing, elevates shelves from purely practical to actually beautiful. The goal isn’t Pinterest perfection: it’s a system you’ll maintain because it looks and functions well.
Conclusion
Building and organizing a storage shelf with bins takes a weekend, but the payoff lasts years. Start with quality materials, anchor securely to studs, and commit to a labeling system that matches your lifestyle. Whether you’re using shelves for storage bins in a garage, craft room, or bedroom, the principles stay the same: measure carefully, distribute weight evenly, and keep bins accessible. A thoughtfully designed system turns “where’d I put that?” into “it’s in the blue bin on the second shelf.”