Table of Contents
ToggleA cluttered desk doesn’t just look bad, it kills productivity. Whether you’re running a home office or just trying to wrangle paperwork, office storage units are the backbone of an organized workspace. The challenge isn’t finding storage: it’s finding the right storage for your actual needs. This guide walks you through the most practical options available in 2026, shows you how to choose what fits your space, and covers several DIY solutions you can build yourself without very costly or the weekend.
Key Takeaways
- Wall-mounted office storage units eliminate floor clutter while floating shelves handle 25–50 pounds and bracket-supported systems carry over 100 pounds when properly anchored to studs.
- Lateral filing cabinets maximize wall space with a smaller footprint than vertical models and pair well with credenzas to create efficient vertical storage solutions.
- Organize office storage by measuring your space first, categorizing what you store, and placing frequently accessed items at eye level while archiving less-used materials higher up.
- Label everything with a $30–$80 label maker and apply the 80/20 rule to keep the 20% of items you use 80% of the time within arm’s reach.
- Build functional DIY office storage using a French cleat system for floating shelves (handles 200+ pounds) or a wall-mounted cubby system with pocket holes for custom organization.
- Use tension rods, dividers, and clear bins to prevent drawer chaos and maintain quick access to supplies, transforming productivity through intentional organization.
Types Of Office Storage Units
Vertical Wall-Mounted Shelving Systems
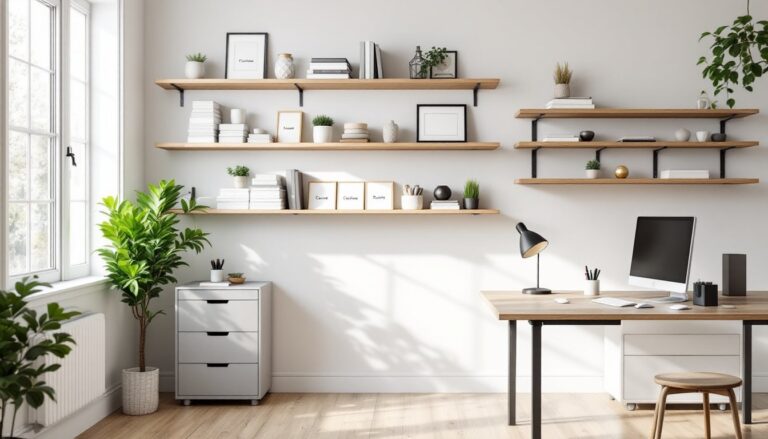
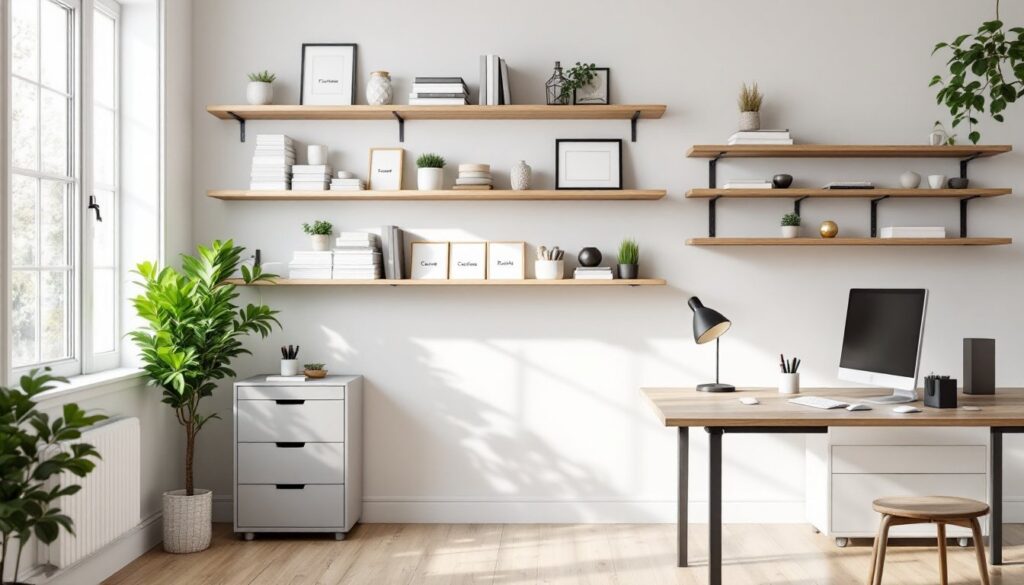
Wall-mounted shelving is the workhorse of small office spaces. Unlike freestanding units, wall shelves eat up zero floor space, which matters when you’re working with a bedroom corner or a compact den. Mounted shelves typically come in three flavors: floating shelves (no visible brackets), bracket-supported shelves, and full rail systems like the KeyboardBar or French cleat methods.
Floating shelves look sleek but have weight limits, usually 25 to 50 pounds per shelf, depending on wall type and bracket quality. If you’re storing heavy reference books or printer supplies, bracket-supported shelves handle more weight and look just fine with visible hardware. Full rail systems are the heavy hitters: they anchor into studs and can carry 100+ pounds per shelf when installed correctly.
Before you buy, check what’s behind your drywall. A stud finder ($15–$40) takes the guesswork out of finding solid anchor points. If you hit only drywall, use heavy-duty toggle bolts rated for your shelf weight, but know that drywall mounting isn’t ideal for loads over 40 pounds.
Filing Cabinets And Lateral Storage
Filing cabinets solve one specific problem: keeping papers flat and searchable. Lateral cabinets (drawers that open side-to-side) take up less floor footprint than vertical cabinets (drawers that open front-to-back). A standard lateral 4-drawer cabinet measures about 18 inches deep, 36 inches wide, and 52 inches tall, and holds roughly 40,000 sheets of paper before it becomes a fire hazard.
Lateral cabinets come in locking and non-locking versions: locks matter if you store financial records, insurance documents, or anything sensitive. The downside is that filing cabinets are heavy, a full lateral cabinet easily weighs 200+ pounds, so think carefully about where you put it. It won’t move easily once loaded.
Lateral cabinets and drawers often pair well with credenzas (low storage units that sit under shelves) to maximize wall real estate vertically. This combo gives you easy-access shallow storage on top and deeper file storage below.
Choosing The Right Storage Solution For Your Space
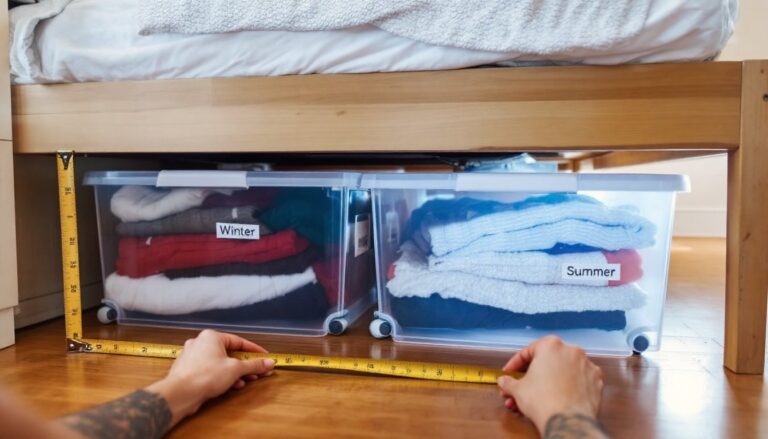
Start by measuring your office honestly. Measure height, width, and depth of available wall and floor space. Don’t guess, write the numbers down. Then ask yourself three questions:
What do you actually store? Papers, office supplies, equipment, or decorative items? Papers and documents live happily in filing cabinets. Small supplies (pens, tape, sticky notes) work better in shallow shelving or modular drawer units. Large equipment like printers or speakers need sturdy shelves or the floor.
How often do you need to access it? Daily-use items belong at eye level or within arm’s reach. Archive files and seasonal supplies go higher up or deeper into cabinets. This isn’t overthinking, it’s ergonomics. Reaching overhead repeatedly for something you need twice a week gets old fast.
What’s your budget and timeline? Ready-to-assemble (RTA) office units from retailers cost $150–$800 and go up in a few hours with basic tools. Custom-built shelving runs $500–$2,000+ depending on materials and complexity. DIY built-from-scratch costs $200–$600 if you already own basic power tools.
Consider also the weight distribution. A 140-pound filing cabinet goes on the floor: it shouldn’t sit on a shelf. Load-bearing walls (usually exterior walls and interior walls directly above a basement support) handle weight better than non-load-bearing walls. When in doubt, call a contractor for a 30-minute consultation, it costs $50–$100 and saves expensive mistakes.
How To Organize Your Office Storage Efficiently
Organization isn’t decoration, it’s a system that lets you find things. Start by sorting everything you’re storing into categories: documents, supplies, reference books, equipment, and trash. Yes, trash. You’d be shocked how much office stuff nobody needs anymore.
Label everything. Get a label maker (Brother or DYMO models run $30–$80) or use a pencil and printer. When a label says “Q3 Financial Statements” instead of “Random Folder,” you save 20 minutes hunting later. Use consistent label sizes and fonts, it sounds fussy, but it works.
Apply the 80/20 rule: organize the 20% of items you access 80% of the time within arm’s reach. Everything else can go higher, deeper, or further back. This principle cuts search time dramatically.
Use dividers and bins to prevent drawer chaos. Cardboard file boxes ($2–$5 each) work for archive storage: they’re not pretty, but they’re functional and stackable. For daily access, clear plastic or labeled fabric bins let you see contents at a glance. Avoid decorative baskets unless you label them, aesthetics mean nothing when you can’t find the stapler.
For shelves, use tension rods to separate sections or create vertical dividers so items don’t topple. A $4–$8 tension rod between two shelves sections prevents the avalanche when you pull one thing out. Consider that Target storage drawers offer modular organization that adapts as your needs change.
Diy Office Storage Solutions You Can Build
If you own a miter saw, a drill, and basic carpentry skills, you can build functional office shelving in a weekend. Here’s the most forgiving approach:
Floating Shelf Using French Cleats:
- Build a cleat from a 2×4 cut at a 45-degree miter, one cleat mounts to wall studs, one to the back of your shelf. This distributes weight along the entire length rather than on brackets.
- Find studs with a stud finder and screw the wall-mounted cleat directly into them using 3-inch deck screws. Use at least two studs: three is better.
- Attach the matching cleat to your shelf (use lumber like 1×12 or 1×10 pine for the shelf itself).
- Mount the shelf onto the wall cleat, it slides down and locks in place.
- This setup handles 200+ pounds distributed across the shelf length.
Wear safety glasses and a dust mask when cutting. A miter saw is louder than you’d think, ear protection matters.
Wall-Mounted Cubby System:
Build a 1×12 pine frame (roughly 36 inches wide, 48 inches tall) divided into six compartments (3 across, 2 down). Use 1×2 lumber for dividers and back support. Pocket holes (a Kreg Jig costs $40–$60) create clean joints. Mount to studs with 2.5-inch pocket hole screws. Paint or stain it to match your office.
This design holds office supplies, small books, and decorative items while keeping your desk surface clear. The compartments stay fixed, so nothing slides around.
Both projects require a miter saw (or a $12 handsaw if you’re patient), a power drill, a level, a stud finder, and safety gear. Real talk: if you’ve never used a miter saw, watch three YouTube tutorials and have someone experienced nearby. Saws don’t forgive careless hands.
For detailed step-by-step instructions, Instructables hosts thousands of woodworking projects and office builds. You’ll also find inspiration in IKEA hacks for home office storage, which show how to customize standard IKEA products like KALLAX or IVAR using paint, hardware, and creative modifications.
Conclusion
Office storage isn’t one-size-fits-all. Wall-mounted shelving works for small spaces, filing cabinets handle papers and documents, and DIY solutions let you build exactly what you need without overspending. Measure first, sort ruthlessly, and organize by frequency of use. Whether you buy off-the-shelf or build it yourself, a functional office means fewer lost documents, less clutter stress, and more time actually working instead of hunting for supplies. Start with one wall or one corner, momentum builds from there.