Table of Contents
ToggleYour entryway is the first thing guests see, and often the first thing that spirals into chaos. Keys, shoes, jackets, bags, and that one umbrella you can never find pile up fast, turning what should be a welcoming space into a cluttered bottleneck. The good news? Smart entryway storage solutions don’t require knocking out walls or breaking the budget. Whether you’re working with a sprawling foyer or a narrow hallway, these seven practical ideas will help you reclaim your entryway and keep it organized year-round. Most of these projects are weekend-friendly, require basic tools, and won’t demand permits.
Key Takeaways
- Floating wall shelves, benches with cubbies, and pegboards are smart entryway storage ideas that maximize small spaces without requiring major renovations or permits.
- Over-the-door organizers and tiered shoe racks keep footwear and accessories accessible while freeing up floor space in narrow hallways and tight entryways.
- Labeled baskets and storage bins organized by category (gloves, keys, seasonal gear) prevent clutter and ensure everyone in the household knows where items belong.
- Proper installation is critical: locate wall studs, use heavy-duty anchors, pre-drill wood, and wait 24 hours before loading adhesive hooks to prevent failures.
- Entryway storage solutions work best when you measure twice, visualize layouts with painter’s tape before drilling, and choose modular systems that adapt as your household needs change.
Install a Floating Wall Shelf System
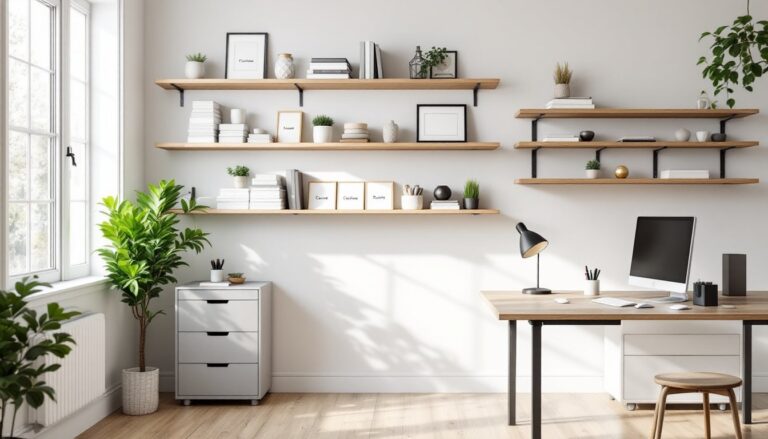
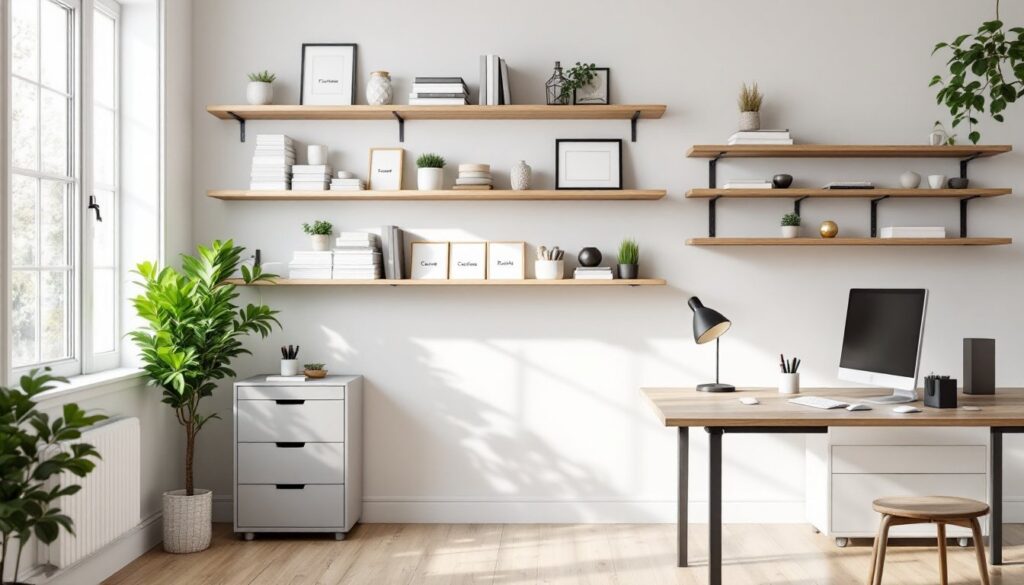
Floating shelves are workhorses in tight spaces, they’re clean, accessible, and easy to install. Mount a series of shelves at varying heights along your entryway wall to create zones for different items: baskets for gloves on the top shelf, decorative boxes for off-season items on the middle, and a lower shelf for daily essentials.
To install, you’ll need to locate wall studs (the vertical framing members behind drywall, typically spaced 16 inches on center). Use a stud finder to mark locations, then use toggle bolts or heavy-duty anchors if studs aren’t conveniently placed. Most floating shelf kits come with 12–24 inches of hidden mounting rails: follow the manufacturer’s instructions closely. For shelves longer than 18 inches or holding heavier loads, install supports every 16 inches. Standard shelves hold 20–35 pounds per shelf depending on bracket quality and wall type.
Before mounting anything, lay out your shelf heights with painter’s tape so you can visualize spacing. This prevents the frustration of drilling holes only to realize shelves are too close together. Use a level (a 24-inch version is ideal) before tightening final bolts. If your drywall is thin or hollow, avoid shelves directly above where people pass, heavy items falling are a safety hazard.
Wear safety glasses while drilling into drywall, especially if dust from previous anchors is present. Clean the wall with a dry cloth after installation to remove gypsum dust.
Add a Narrow Bench With Built-In Cubbies
A bench with cubbies gives you seating, shoe storage, and display space in one footprint, perfect for small entryways. A typical entryway bench measures 36–48 inches wide, 16–18 inches deep, and 18–24 inches tall. The cubbies below (usually 3–6 openings, each 10–12 inches square) slide shoes in on their sides, keeping them visible and accessible.
You can buy ready-to-assemble benches (look for models with solid wood construction and reinforced joints) or build one from plywood and 2×12 lumber. Plywood is a budget-friendly option but needs a finish (stain or paint) to look polished. If building, cut the main frame from 2×2 lumber, add cubby dividers from 3/4-inch plywood, and attach a cushion on top (foam core covered with fabric, usually 2–3 inches of padding).
Install your bench firmly against the wall. If it’s freestanding, secure it to wall studs with L-brackets (6-inch brackets rated for 75+ pounds per corner work well). This prevents tipping if someone leans on it or children climb. Pre-drill holes in wood to avoid splitting: use 2.5-inch wood screws anchored into studs, not drywall alone.
For built-in cubbies, you’ll likely need to remove baseboard trim, install the bench, then replace or modify trim. This is straightforward but requires a pry bar, a miter saw or hand saw to trim new pieces, and a nail gun or finishing nails. If structural modifications are needed (notching trim, adjusting flooring), check local building codes, though most residential cosmetic work doesn’t require permits.
Use Over-the-Door Organizers for Shoes and Accessories
Over-the-door organizers are the rental-friendly workhorse of entryway storage. A single dual-sided shoe organizer (18–22 pockets per side) holds up to 20 pairs of shoes without eating floor space. They’re typically made from canvas, vinyl, or mesh and hang on any standard 1.375-inch-thick door using adhesive hooks or rod-style hangers.
Choose organizers with clear pockets so you can see contents at a glance. Heavier pockets (those rated for 5+ pounds per pocket) are sturdier and won’t sag after a few weeks of use. Mount it on your entryway closet door, hallway door, or bathroom door if your entry area is tight. Most organizers weigh 5–8 pounds fully loaded and distribute weight evenly, so they won’t damage standard residential doors.
For installation, clean the door surface with a damp cloth and let it dry completely. If using adhesive hooks, press firmly for 30 seconds and wait 24 hours before hanging heavy items, rushing this step is the #1 reason hooks fail. Alternatively, use a tension rod (spring-loaded, 24–36 inches) threaded through the top channel: these work especially well for heavier organizers and don’t leave residue.
One caveat: avoid overloading. A shoe organizer holding 30+ pounds of shoes can warp a hollow-core door over time. If your door is standard residential hollow-core, stick to shoes and light accessories. Solid-core doors can handle more, check your door’s construction: hollow-core feels light and sounds hollow when you tap it.
Create a Pegboard Wall for Hooks and Baskets
Pegboard is modular, flexible, and fun. A 4-foot by 8-foot sheet costs $20–40, and you can customize hook and basket positions as your needs change. It’s ideal for high-traffic items: keys, small bags, hats, and umbrellas.
Mount pegboard directly over drywall or wallpaper (wallpaper will eventually peel at edges, so prime first if possible). Use furring strips (thin wood strips, typically 1/2 inch thick) spaced 16 inches apart behind the pegboard to create air gaps for hook insertion. Secure furring strips to wall studs with 2.5-inch wood screws, then fasten pegboard with 1.25-inch wood screws or brad nails every 8 inches. If you’re cutting pegboard to fit an awkward space, use a jigsaw (fine-tooth blade) for clean edges and wear a dust mask, pegboard dust irritates lungs.
Once mounted, populate it strategically. Heavy items (coats, bags) go at eye level where support is strongest and access is easy. Light items (scarves, hats) go higher. Use heavy-duty hooks (rated for 10+ pounds) for coats, standard metal S-hooks for bags, and basket hangers for organizing gloves, sunglasses, or packages. Avoid overloading one section: distribute weight across the board.
Finish matters: unfinished pegboard looks utilitarian: paint it with semi-gloss or satin-finish paint (two coats over primer) to match your décor and make cleaning easier. This is optional but takes the look from “garage” to “intentional entryway.”
Incorporate a Stylish Shoe Rack or Ladder Stand
A dedicated shoe rack or ladder stand keeps footwear off the floor and within arm’s reach. A tiered shoe rack (5–7 tiers, made from metal or wood) holds 15–25 pairs in under 2 square feet. Ladder-style stands are narrow (12–16 inches wide), fit in corners, and work especially well in tight hallways. Both types are freestanding, so installation is minimal, just ensure the floor is level and the base is stable against accidental bumps.
When choosing, verify weight capacity. Most standard racks handle 100–150 pounds, but heavier winter boots and athletic shoes add up fast. A typical pair of shoes weighs 1.5–2.5 pounds: count your pairs and aim for 150% capacity cushion. Metal racks (steel or aluminum) are more durable and withstand moisture better than particleboard versions, especially in entryways near doors where humidity and temperature fluctuate.
For a sleek appearance, group shoes by season or color. Off-season shoes belong in a space-saving storage solutions bin elsewhere, not taking up entryway real estate. If your entryway gets natural light, avoid storing leather shoes directly in sunlight (causes fading and drying).
If you want a more permanent fixture, build a low wall-mounted rack from 2×4 lumber and 1/2-inch dowels spaced 2–3 inches apart. This looks custom, handles any boot weight, and uses wall space instead of floor space. Secure mounting ledges to studs with 3-inch lag bolts rated for at least 200 pounds per mounting point.
Set Up Labeled Baskets and Storage Bins
Baskets and bins tame visual chaos instantly. A set of 3–5 woven baskets (seagrass, rattan, or wicker) organized by category creates a clean, unified look. Use labels (printed labels, adhesive stickers, or embroidered tags) so everyone knows where items go: “Gloves & Scarves,” “Keys & Wallets,” “Dog Gear,” etc.
Choose basket size to match your space. Shallow baskets (6–8 inches tall) work on floating shelves or benches. Deeper baskets (12–16 inches) suit floor placement or lower shelving. Stackable bins (plastic with snap lids) are durable and moisture-resistant, perfect for entryways with fluctuating humidity. Woven baskets are attractive but absorb moisture: avoid them near exterior doors in damp climates.
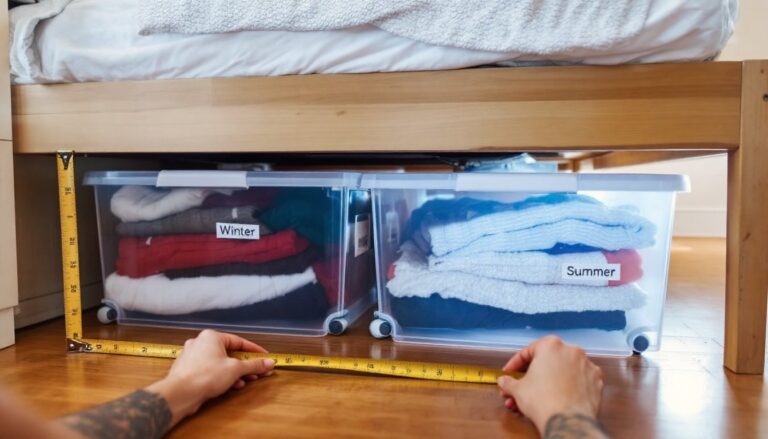
When organizing, embrace the principle of “one category per basket.” Don’t mix keys with gloves just because space is tight, it defeats the purpose and frustrates everyone in the household. Change labels seasonally if you cycle items (winter vs. summer gear). This prevents the “why is this basket still here?” confusion that leads to abandonment.
For a cohesive look, match basket materials and colors. Hearthstonecrafts’ tidy storage solutions emphasize this consistency, it’s not about buying expensive pieces, but about matching what you already own or selecting a unified palette. If budget is tight, you can wrap mismatched bins in kraft paper or fabric to create visual harmony. Custom storage closet solutions use the same principle: consistency makes spaces feel intentional and calm.
Conclusion
These seven storage strategies work because they’re practical, modular, and honest about space constraints. Pick the one or two that fit your entryway’s layout and your lifestyle. Floating shelves suit minimal aesthetics: benches add seating: pegboards offer flexibility: baskets bring warmth. The key is starting with prep work, measure twice, confirm wall studs, and visualize the final layout before drilling.
Entryway organization isn’t a one-time project: it evolves as your household needs change. What works now may shift in six months, so choose solutions that adapt. Mount shelves securely, label clearly, and maintain consistently. Your future self will thank you every time you walk in without tripping over shoes.