Table of Contents
ToggleA cluttered bathroom countertop isn’t just an eyesore, it’s functionality working against you. Between daily toiletries, skincare products, medications, and guest essentials, the average bathroom counter becomes a catch-all within weeks. The real challenge isn’t that you have too much stuff: it’s that you haven’t given it a proper home. Whether you’re working with a cramped powder room or a sprawling master bath, bathroom countertop storage doesn’t require renovation or major expense. Smart organizers, vertical solutions, and a few straightforward DIY projects can reclaim your counter space and keep it that way. This guide covers practical storage containers, space-maximizing tactics, and buildable projects that work for real bathrooms with real clutter.
Key Takeaways
- Bathroom countertop storage reduces mental clutter and improves daily function by giving each product a designated home, preventing scattered bottles and wasted morning time.
- Tiered trays, drawer dividers, and moisture-resistant baskets are the most effective containers for organizing countertop essentials without requiring renovation or major expense.
- Vertical storage solutions like wall-mounted shelves, over-the-toilet units, and mirror cabinets maximize limited counter space in small bathrooms while keeping frequently used items accessible.
- DIY floating shelves and vanity shelf inserts are budget-friendly projects for renters and homeowners that provide 40–60 pounds of storage capacity using basic tools.
- Maintaining an organized countertop requires ruthless decluttering of expired products, establishing designated zones for different item types, and conducting a monthly 15-minute reset to prevent reaccumulation of clutter.
- A thoughtful bathroom countertop storage system protects products from humidity and water damage while signaling to guests that you care about their comfort and experience.
Why Bathroom Countertop Storage Matters
A clear bathroom counter does more than look polished, it improves daily function and bathroom hygiene. When products are scattered, bottles tip over, caps go missing, and you waste time hunting for what you need in the morning rush. Proper storage extends product life by protecting items from humidity, dust, and accidental knocks. It also prevents water damage to your counter surface itself: standing water pools around bottles and soap dispensers, eventually seeping into seams and causing costly damage to laminate or quartz.
Beyond the practical benefits, an organized countertop reduces mental clutter. Studies on home environments show that visual clutter creates cognitive load, your brain works harder in disorganized spaces, making even a simple morning routine feel more stressful. Finally, accessible storage means guests feel welcome and don’t have to guess where to find what they need. A thoughtful bathroom tells visitors you care about their comfort.
Best Countertop Storage Containers and Organizers
Tiered Trays and Caddies
Tiered trays are the workhorse of bathroom countertop organization. A two- or three-tier caddy consolidates skincare, medications, and daily essentials into one compact footprint, roughly 8–12 inches wide by 6–8 inches deep, freeing up surrounding counter space. Unlike a simple flat tray, tiered design maximizes surface area vertically. Look for trays made from bamboo, stainless steel, or durable plastic: bamboo suits warmer bathroom aesthetics, while steel withstands humidity better long-term. Metal caddies with removable dividers let you customize compartments for different product sizes.
Place a tiered caddy near the sink or on a back corner of the counter, positioning taller bottles toward the back so they don’t block the mirror or create clutter visually. These are ideal for morning-routine items, moisturizer, deodorant, face wash, medications, anything you grab daily.
Drawer Dividers and Baskets
If your bathroom has a vanity with drawers, dividers transform wasted drawer space into organized zones. Acrylic or bamboo dividers ($8–$25 per set) segment each drawer into compartments, so hair tools, cotton rounds, and under-sink supplies stay put instead of sliding around. Measure your drawer dimensions first, most standard bathroom vanities have drawers 18–24 inches wide and 4–6 inches deep.
For open shelving above the toilet or wall-mounted shelves, woven baskets or fabric bins work beautifully. They hide clutter while remaining accessible and add texture to the space. Choose baskets with handles for easy removal and ensure they’re sized to fit your shelf width without overhang. Bathroom-specific baskets handle moisture better than standard storage boxes: look for options labeled “moisture-resistant” or made from water-resistant materials like seagrass or treated wood.
Maximizing Vertical Space on Your Bathroom Countertop
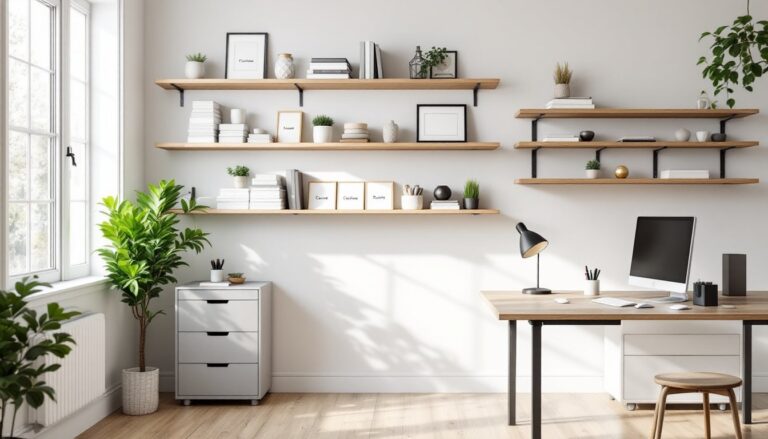
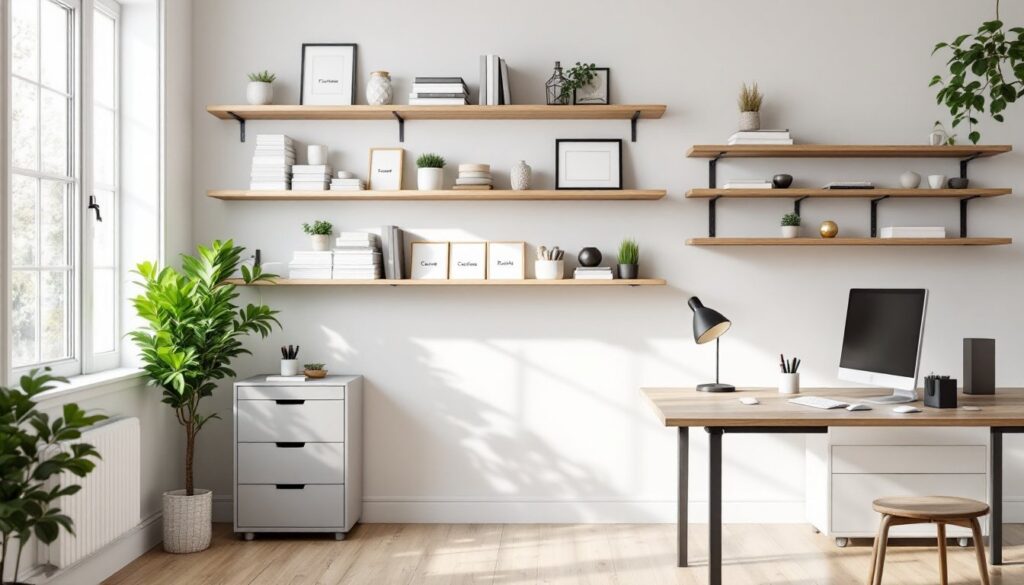
Vertical storage is the secret to keeping bathroom countertops functional in small spaces. Wall-mounted shelves above the toilet or beside the mirror add storage without eating counter real estate. When installing shelves, locate wall studs (typically 16 inches apart) and use appropriate anchors or lag bolts rated for the weight you plan to store. Drywall anchors alone won’t safely hold more than 20–30 pounds per anchor: in bathrooms where moisture can weaken drywall over time, stud mounting is safer.
For renters or those avoiding wall damage, over-the-toilet storage units ($40–$150) provide shelves without drilling. These freestanding racks fit between the toilet tank and ceiling, typically offering 2–3 shelves of 12–18 inches wide. They’re perfect for towels, extra toilet paper, and seasonal items.
Mirror cabinets merge reflection and storage. A recessed medicine cabinet sits inside the wall cavity (requires careful stud and plumbing checks) and lies flush, while surface-mounted cabinets mount directly over the sink area. Both hide clutter behind a door and keep moisture-sensitive items protected. If wall modification isn’t an option, a leaning mirror can tuck into a corner with slim shelving behind it.
Drawer organizers for under-sink cabinets, like sliding pullout baskets, make items at the back accessible without reaching into dark spaces. Install a moisture barrier (plastic sheeting or a drip tray) under the sink if you haven’t already: water damage is common when pipes leak unnoticed. Consider stackable under-sink bins ($15–$40 per bin) that maximize vertical height without adding clutter.
DIY Countertop Storage Projects You Can Build
For those willing to grab tools, simple DIY projects add custom storage without the contractor cost. A floating wooden shelf is achievable for beginners. Measure and mark your shelf location, locate studs, and use 2×10 or 2×12 lumber (actual dimensions 1.5 inches by 9.25 inches or 11.25 inches) for 24–30-inch spans. Finish with paint or stain, then secure using heavy-duty floating shelf brackets ($20–$50 per pair) bolted into studs. The shelf supports 40–60 pounds depending on bracket quality and stud spacing.
A tiered shelf riser is a no-tools project. Stack wooden crates or baskets of different heights and secure them with removable museum putty ($5–$10) or non-slip drawer liner. This creates instant vertical depth without permanent installation, perfect for rental bathrooms.
Building a vanity shelf insert requires moderate carpentry. Measure the width of your vanity top and depth from the back of the counter to where the mirror starts (typically 6–8 inches). Create a simple wooden frame from 1×4 boards, add horizontal dowels or thin rods spaced 3–4 inches apart to hold bottles, and finish with stain or paint. This riser sits directly on the counter, occupying minimal footprint while supporting 15+ items vertically.
Tools needed: Power drill, circular saw or miter saw, measuring tape, level, and appropriate fasteners (bolts for studs, drywall anchors for non-stud locations). Wear safety glasses and a dust mask when cutting wood. All wood should be sanded smooth to prevent splinters, especially in a wet environment.
Keeping Your Bathroom Countertop Organized and Clutter-Free
Storage containers and organizers only work if you maintain them. Start by decluttering ruthlessly, expired medications, dried-out skincare bottles, and duplicate products are clutter magnets. Check expiration dates on everything: medications lose efficacy, and skincare products harbor bacteria once opened. Toss anything unused for 6 months unless it’s a sentimental keepsake (and even then, rotate it off the counter into storage elsewhere).
Establish zones on your counter: a morning-routine zone with toothbrush, deodorant, and daily skincare: a medication zone if prescribed items stay visible: and a guest zone with soap, hand lotion, and extra towels. Assign a specific tiered tray, drawer, or basket to each zone. Everything lives in its zone, always, this reduces decision fatigue and keeps reorganization simple.
Use labels on baskets and drawer dividers so household members know where items belong. Clear labels also help you spot when supplies run low. Create a monthly 15-minute “reset”, wipe down containers, check for spills, and ensure items are in their zones.
Finally, resist the urge to add new products “just to have them.” Every item on your counter should earn its space through daily or near-daily use. Resources like home organization tips and design inspiration galleries offer fresh ideas when you feel stuck, but remember that the best system is the one you’ll actually maintain. For deeper strategic changes, stackable storage solutions often transform entire bathrooms by consolidating similar items into grouped, accessible units.