Table of Contents
ToggleKitchen wall storage isn’t just about fitting more stuff in, it’s about working smarter with the space you have. Whether you’re dealing with a cramped apartment galley or a modest suburban kitchen, the walls above counters and appliances are prime real estate waiting to do double duty. The right storage solutions can hold your most-used items within arm’s reach while freeing up cabinet space and keeping clutter off the counter. This guide walks you through six practical approaches to wall storage that actually work, from floating shelves to magnetic strips, so you can pick what fits your kitchen and your lifestyle.
Key Takeaways
- Kitchen wall storage ideas like floating shelves and pegboards maximize space by keeping frequently used items within arm’s reach while freeing up cabinet and counter space.
- Proper installation is critical for all wall storage solutions—always locate studs using a stud finder and use heavy-duty brackets or lag bolts rated for at least 25 pounds to ensure stability and safety.
- Floating shelves work best at 36 to 48 inches in length, while magnetic strips and narrow spice racks are ideal for specialized storage that takes minimal wall space and adapts to your cooking needs.
- Pegboards and magnetic panels offer flexibility to reorganize items as your needs change, whereas open cabinets and glass-front units require ongoing maintenance to keep them visually appealing.
- Layer multiple storage approaches—such as combining floating shelves above your coffee station with pegboards near the stove—rather than relying on a single solution for the most effective kitchen organization.
- Over-the-door organizers and adhesive-mounted strips provide renter-friendly alternatives to permanent wall storage without damaging paint or requiring drilling.
Floating Shelves for Display and Function
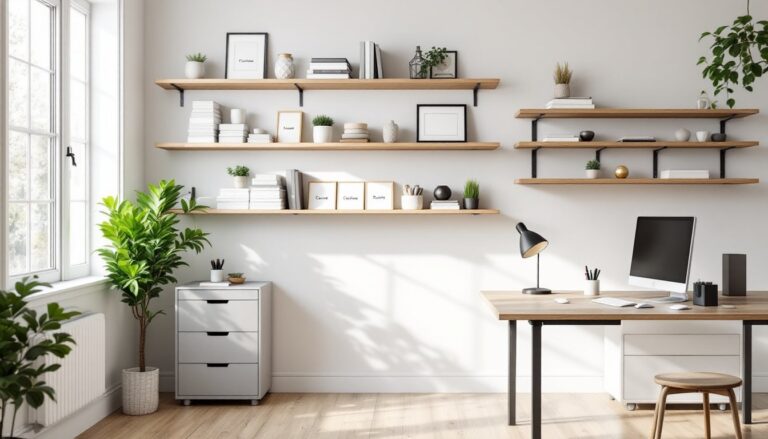
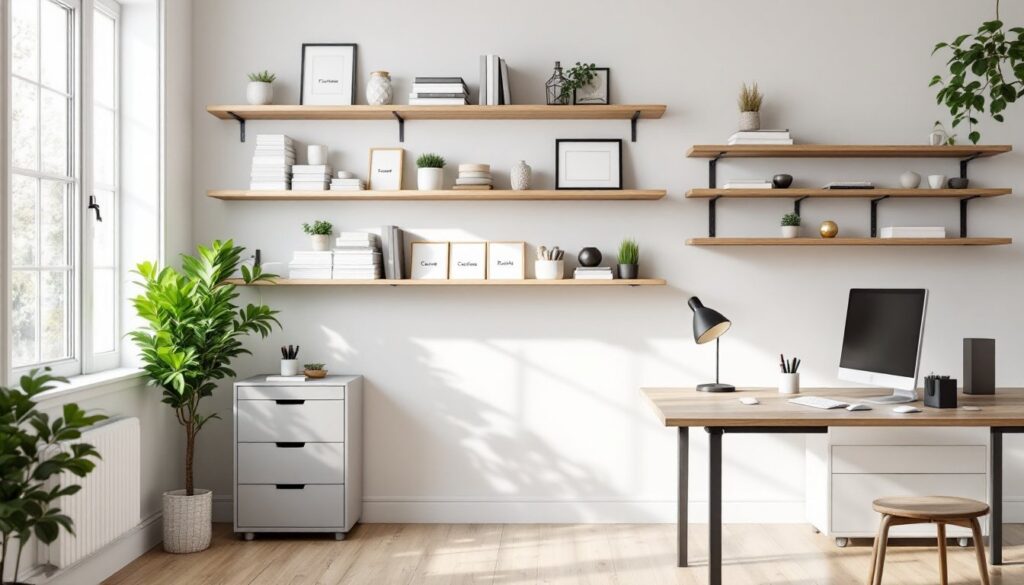
Floating shelves are the workhorses of kitchen wall storage. They sit flush against the wall without visible brackets, creating a clean, modern look while holding practical items like cookbooks, stemware, or everyday dishes. The appeal is straightforward: they’re flexible, relatively easy to install, and they don’t eat up floor space.
When you install floating shelves, anchoring matters more than aesthetics. Most kitchens have drywall over studs on 16-inch centers, so locate studs using a stud finder before drilling. For shelves that’ll hold dishes or small appliances (even modest weight adds up fast), you need heavy-duty floating shelf brackets rated for at least 25 pounds per shelf. These are typically lag bolts or steel brackets screwed directly into studs.
Length is your friend here. A shelf spanning 36 to 48 inches between studs distributes weight evenly and looks proportional above a standard counter. Anything longer risks sagging, especially once loaded. Pre-finished wood shelves (typically 1 by 10 or 1 by 12 nominal lumber) are easiest for DIYers, no stain or seal needed. Measure twice, use a level, and account for the width of your brackets when marking holes.
One pro tip: keep heavier items toward the back and wall side where the brackets anchor strongest. Decorative pieces and glasses near the front edges are fine, but don’t front-load a shelf with cookware. Storage is only good if it’s stable.
Wall-Mounted Pegboards and Hooks
Pegboards turn blank wall space into customizable storage that adapts as your needs change. A 4-by-8-foot pegboard can hold dozens of items, ladles, measuring cups, cutting boards, small towels, and you swap pegs around whenever you reorganize. Unlike fixed shelving, pegboards don’t commit you to a single layout.
Installation requires the same stud-finding discipline as shelves. Mount the pegboard with spacers (quarter-inch strips behind the board) so pegs can insert fully. You’ll typically use two-inch lag bolts into studs for pegboards that size. Some folks place pegboards above open counter space or beside a range for quick grab-and-go access to tools and utensils.
Peg selection matters more than people think. Plastic hooks work for light items, but hardwood or steel hooks handle heavier loads without flexing. Hooks come in different hook lengths and handle styles, L-hooks, J-hooks, and shelf pegs all serve different purposes. Lay out your most-used items first, then buy hooks to match, rather than filling every hole.
One caution: pegboards over a cooking area need grease management. Steam and splatter will eventually coat the pegboard. Wipe it down monthly and consider placing pegboards away from direct heat if you do a lot of high-heat cooking. If you use it near a stove, keep heavier items off the pegs to prevent accidents from heat-related warping.
Magnetic Strips and Metal Storage Panels
Magnetic strips are underrated kitchen organizers. A 18-inch stainless steel magnetic strip mounted on the wall holds knives, metal measuring spoons, small metal containers, and anything ferrous. They’re sleek, they keep blades accessible, and they free up drawer space that’s usually wasted on blade guards.
Install magnetic strips directly into studs using lag screws or construction adhesive (check the product rating). Mount knives at eye level or slightly above for safety and visibility. Keep the strip 12 to 18 inches above your counter so you’re not reaching awkwardly. For families with kids, remember that magnetic strips put sharp edges within reach, place them higher or out of child reach if needed.
Beyond knives, consider magnetic metal panels (steel sheets mounted to the wall) that hold multiple storage solutions: small magnetic bins, hook attachments, or shelving racks. These panels turn a blank wall into a modular storage system. They’re particularly useful in narrow kitchens where you can’t add traditional shelving without blocking movement.
One drawback: magnetism only works with ferrous metals. Stainless steel, copper, and glass don’t stick, so you’re limited to knives, cast iron, and items in metal containers. If that fits your storage needs, magnetic solutions are fast to install and flexible to rearrange.
Vertical Spice Racks and Narrow Shelving
Spice storage is a specific problem that generic shelving solves poorly. A single tiered spice rack or vertical spice shelf uses 12 to 24 inches of wall space and holds 30 to 50 jars in a footprint the size of a sheet of paper. For cooks who accumulate spices faster than they use them, this is a game-changer.
Wall-mounted spice racks come in two main styles: ladder-style racks (open, tiered shelves) and cabinet-style racks (enclosed doors, often with magnetic closure). Ladder racks maximize visibility, you see every jar at a glance. Cabinet racks keep dust off spices and provide a finished look. Both mount easily to studs or drywall anchors if no stud aligns.
For those who prefer minimal visual footprint, consider narrow 5- to 7-inch-deep floating shelves mounted vertically in a stacked arrangement. This gives you the look of custom built-ins while taking minimal wall space. Stack three shelves vertically above a small gap in counter space, and you’ve got storage for spices, condiments, and small appliances without the bulk.
Measure your spice jars before ordering a rack, most jars are 1 to 1.5 inches in diameter, but some specialty jars are wider. A mismatched rack that doesn’t fit your bottles defeats the purpose. Also, keep spices away from direct sunlight and heat sources: under or beside a window or above a stove means they’ll fade and lose potency faster.
Over-the-Door Storage Solutions
Over-the-door organizers are the simplest install on this list: they hang from the top of a cabinet or closet door using hooks or adhesive strips. A over-the-door rack (typically 12 to 18 inches wide) holds spices, dry goods, or cleaning supplies without a single screw.
These work best on cabinet faces or pantry doors where the door swings away from active work areas. An over-the-door rack on your main kitchen door works if items are lightweight and rarely used. But, swinging doors create air movement that can knock lightweight jars around, so reserve over-the-door storage for stable, heavier containers or secured items.
If you rent or can’t drill into walls, over-the-door solutions are excellent alternatives to permanent wall storage. Heavy-duty adhesive strips (rated for 5 to 10 pounds) hold small racks without damaging paint. Test the setup before loading it fully, lean back slowly and observe if the adhesive holds. Don’t hang knives or anything that could fall on someone’s head from an over-the-door solution.
One practical use: mount an over-the-door organizer on the inside of a cabinet door that faces your work surface. Pull the door open and you’ve got instant access to frequently used items like oils, vinegars, or sauces without blocking counter space. That’s hidden storage that doubles as accessible storage.
Open Cabinets and Glass-Front Wall Units
Open shelving cabinets (no doors) and glass-front units blur the line between storage and display. They hold everyday items like mugs, bowls, and glasses while creating visual interest. If you’re organized and don’t mind the look of your kitchen gear on display, open cabinets are both functional and stylish.
The catch: open storage requires maintenance. Everything shows dust, grease, and clutter. A mismatched collection of random dishes and containers looks chaotic: intentional curation looks designed. If you go open, commit to it, stack plates neatly, arrange items by color or size, and keep the visual rhythm consistent. This approach works best for people who have time and inclination to maintain that level of order.
Wall-mounted open cabinets install similarly to floating shelves: locate studs, use lag bolts or heavy-duty bracket systems, and ensure level mounting. Many open cabinets come pre-assembled, which saves frustration. If you’re mixing open and closed storage, place open cabinets where you store items you use daily and enjoy looking at, and closed cabinets for bulk items or things you’d rather hide.
Glass-front cabinets soften the look compared to fully open shelves, items are visible but slightly obscured. Interior lighting (adhesive LED strips) under the shelves adds warmth and makes glassware glow. This approach isn’t a time-saver, but it transforms a functional storage wall into a kitchen focal point. Some find that satisfying: others find it fussy. Know yourself before committing.
Conclusion
Kitchen wall storage is less about choosing one perfect solution and more about layering approaches that fit your habits and kitchen layout. Floating shelves offer clean flexibility, pegboards adapt to change, magnetic strips save drawer space, and narrow vertical racks tame spice chaos. Measure your walls, locate studs, assess your weight-bearing needs, and install securely. Start with one section, above your coffee station or beside the stove, and expand as you find what actually works in your daily cooking life. The best storage system is one you’ll use.