Table of Contents
ToggleHalloween decorations are notoriously hard to store. Strings of lights tangle into knots, inflatable ghosts deflate into sad piles, and those carefully crafted paper bats scatter like actual bats every time you reach for something else. The solution? Dedicated Halloween storage bins that keep your spooky ensemble intact from November through September. Whether you’re a casual decorator or someone who transforms their entire yard into a haunted house, the right containers, and a smart organization system, make setup faster and your decorations last longer.
Key Takeaways
- Dedicated Halloween storage bins protect your decorations from moisture, pests, and temperature damage while reducing setup time by up to 50% the following year.
- Choose clear plastic bins for garage or basement storage to easily see contents, and opaque bins for visible living spaces; prioritize lids with rubber gaskets and latching clips over snap-fit designs.
- Organize Halloween storage bins by location or category—such as Exterior Lighting, Front Entry, Inflatables, and Indoor Décor—so you can grab just 2–3 bins to complete 90% of your seasonal setup.
- Wrap fragile items in bubble wrap and wind string lights on storage reels to prevent tangling and damage; store inflatables flat or loosely rolled in separate bins away from sharp objects.
- Label each Halloween storage bin with detailed inventory lists and maintain a master spreadsheet or photo folder to quickly locate items and avoid duplicate purchases next season.
Why Invest In Dedicated Halloween Storage
Tossing Halloween décor into random boxes in the basement or garage is a quick way to lose pieces and damage what you worked to collect. Dedicated storage bins do three things: they protect your investment, save you setup time next year, and actually reduce stress during the season.
When decorations are organized properly, you’ll know exactly what you have before shopping for new items. No more buying duplicate blow-ups or discovering a broken strand of lights on October 30th. Plus, proper storage prevents moisture damage, pest intrusion, and the general deterioration that comes from seasonal temperature swings in uninsulated spaces. A 50-gallon plastic bin with a tight-sealing lid costs around $10–$15 and will keep decorations dry and protected for years.
Your setup workflow changes too. Instead of rummaging through five boxes to find your outdoor lights, you grab the bin labeled “Exterior Lighting” and you’re done. Most DIYers who carry out a simple bin system report cutting their decoration setup time in half.
Choosing The Right Storage Containers For Halloween Décor
Clear Plastic vs. Opaque Bins
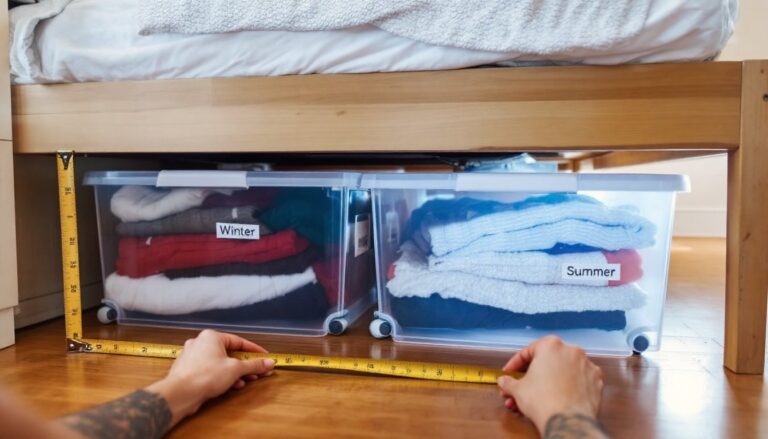
Clear plastic bins let you see what’s inside without opening them, which saves hunting time. They’re ideal if your storage space is visible or if you want a quick inventory scan before shopping. Opaque bins, usually solid black, white, or gray, are better if you’re storing them in a living space or want a cleaner aesthetic. Both work equally well for protection if they have locking or snap-tight lids.
Price difference is minimal. Clear 50-gallon bins run about $12–$18, while opaque models cost $10–$16. The deciding factor is usually storage location and personal preference. For garage or basement storage, clear bins win. For a closet or finished room, opaque looks more polished.
Size And Capacity Considerations
Bin size depends on what you’re storing. Medium bins (20–30 gallons) work well for smaller items: string lights, decorative signs, candles, and costume pieces. Large bins (50–66 gallons) handle bulkier goods: inflatables, foam tombstones, hanging garlands, and light-up projectors.
A practical approach: start with two or three large bins for your heaviest, bulkiest pieces, then use medium bins for everything else. This prevents bins from becoming so heavy they’re hard to move, and it keeps related items grouped logically. Stack medium bins on larger ones, not the reverse.
Don’t skimp on lid quality. Lids with rubber gaskets and latching clips (not just snap edges) keep dust and moisture out far better. They cost a few dollars more but last through dozens of seasonal cycles.
Organizing Your Halloween Bins By Category
The easiest organization system groups decorations by where they’re used or what type they are. Here’s a practical breakdown:
- Exterior Lighting: All outdoor extension cords, plug adapters, string lights, rope lights, and stake lights. Keep batteries and bulb replacements in a small plastic bag taped to the inside of the lid.
- Front Entry & Porch: Door wreaths, hanging signs, doormat, pumpkins (artificial), and small statues.
- Inflatables & Yard Décor: Blow-up ghosts, skeletons, tombstones, and any items needing stakes or ground anchors.
- Table & Indoor Décor: Centerpieces, votive candles, napkin rings, tablecloths, and wall hangings.
- Costumes & Accessories: Masks, wigs, props, and costume pieces, often stored separately in a medium bin to avoid crushing.
- Miscellaneous Supplies: Tape, command hooks, zip ties, extension cords, and hardware you use during setup.
This approach makes seasonal setup straightforward: grab the “Exterior Lighting” bin, the “Front Entry” bin, and the “Yard Décor” bin, and you’ve got 90% of your outdoor display ready to go. No hunting through unrelated items.
Best Practices For Storing Fragile Decorations
Delicate items, ceramic figurines, glass ornaments, and vintage decorations, need extra protection inside the bin. Wrap each piece in bubble wrap or kraft paper, and use dividers to prevent items from shifting during moves.
For string lights, don’t coil them loosely: wrap them around a plastic storage reel or a piece of stiff cardboard cut to manageable size. This prevents tangling and reduces stress on the cord’s insulation. Label what’s on each wrapped bundle so you don’t have to unwrap everything to find the green lights.
Use packing paper or old newspaper to fill gaps and cushion items. It’s free if you have it and works as well as expensive packing peanuts. If you’re stacking heavy items above fragile ones, place a flat plastic sheet or piece of rigid cardboard as a divider, don’t let weight press directly onto anything delicate.
Inflatable decorations should be deflated and stored in a flat or loosely rolled position, not stuffed tightly. Pressure damage reduces their lifespan significantly. Store them away from sharp objects or rough bin corners: consider placing them in a separate medium bin with soft items like cloth tablecloths to cushion them.
Labeling And Inventory Tips For Easy Access
A good label system saves enormous amounts of time. Use a weatherproof label maker or a permanent marker on white adhesive labels, not just pen on tape, which fades or peels off.
Label the front and top of each bin with the category and a brief inventory list. “Exterior Lighting: LED strings (100 ct), rope lights (50 ft), stake lights (12 pack)” takes 30 seconds to write but saves you opening the bin later just to confirm what’s inside. If you have multiple bins in one category, number them: “Yard Décor – Bin 1 of 2” and “Yard Décor – Bin 2 of 2.”
Maintain a master spreadsheet or notebook listing all bins, their contents, and any notes (“Blow-up ghost needs patch kit,” “LED lights require 6 AA batteries”). A simple Google Sheet shared with household members means no one’s re-buying duplicates or forgetting to repair something before next season.
Take photos of your bins’ contents before closing the lids. Store these in a phone folder or cloud drive labeled “Halloween Storage.” Next October, you’ll remember at a glance what you packed and can quickly locate items without digging through bins. This is especially useful if someone else in your household needs to fetch decorations while you’re busy with setup.
A well-organized Halloween storage system pays for itself in time saved and frustration avoided. Start simple: grab a few 50-gallon plastic bins with locking lids, organize by location or category, and label clearly. Your future self, standing outside on a chilly October evening ready to decorate, will thank you. The investment is small, but the payoff in convenience and decoration longevity is huge. Smart storage transforms Halloween from a chaotic scramble into an efficient, enjoyable setup process year after year. Resources like Real Simple’s practical tips and product recommendations for storing Halloween decorations offer additional inspiration if you’re looking to expand your system.