Table of Contents
ToggleHidden wall storage solves a problem most homeowners face: limited space and visible clutter. Unlike bulky furniture pieces, recessed shelving and built-in cabinets tuck storage into walls you already have, freeing up floor space while maintaining clean sightlines. Whether you’re hiding valuables, organizing a mudroom, or maximizing a small bedroom, hidden wall storage offers both practicality and aesthetic appeal. These solutions range from straightforward floating shelves to sophisticated recessed units, all achievable with basic carpentry skills and standard tools.
Key Takeaways
- Hidden wall storage eliminates visible clutter while freeing up floor space, making rooms feel larger and more organized without bulky furniture pieces.
- Two popular methods—recessed shelving and floating shelves with concealed brackets—each offer distinct advantages: recessed units are permanent and fully customizable, while floating shelves are faster to install and easier to reconfigure.
- Proper planning is essential before starting any hidden wall storage project, including checking for electrical wiring and plumbing, locating wall studs, and verifying local building codes to avoid costly mistakes.
- Always fasten shelves and brackets directly to wall studs (located 16 inches on center) rather than relying on drywall anchors alone, as this ensures long-term stability for weighted items.
- Success with hidden wall storage depends on accurate measurement, proper leveling, and correct installation techniques like routing recess for concealed brackets and using structural headers when removing studs.
- Finishing touches—filling screw holes, sanding edges, and applying quality primer and paint—separate professional-looking results from DIY mishaps.
Why Hidden Wall Storage Matters for Your Home
Hidden wall storage addresses two competing desires: you need room for your belongings, but you don’t want your home to look like a storage unit. Visible clutter shrinks perceived space, while tucking items into walls maintains the visual flow of a room. This matters in small apartments, modern minimalist homes, and anywhere square footage is at a premium.
Beyond aesthetics, hidden storage keeps dust off items you don’t use daily and protects valuables from casual view. A recessed cabinet in a hallway holds seasonal clothes: a floating shelf system in a kitchen hides cookbooks and serving pieces. Building hidden storage also increases home value. Potential buyers see thoughtful design and functional space, not “we just have nowhere else to put this.”
The real advantage is customization. Store-bought shelving forces you to work within their dimensions and finishes. A custom recessed unit fits your wall’s exact width, matches your trim color, and opens toward the right side. You control depth, material, and finish in ways prefabricated options can’t match.
Types of Hidden Wall Storage Solutions
Recessed Shelving and Built-In Cabinets
Recessed storage sits flush with (or slightly proud of) your wall surface, creating a unified appearance. The unit is framed into the wall cavity, typically a 2×4 stud bay, which measures 3.5 inches deep, or extends deeper if you remove blocking. A recessed bookcase, spice rack, or medicine cabinet becomes part of the wall itself.
Built-in cabinets offer the same principle with doors. You frame an opening, install a cabinet box, and finish the face with trim and paint. This approach works beautifully for awkward wall spaces, alcoves, or anywhere you want items completely hidden. Doors also control dust and light (important for wine racks or pharmaceutical storage).
The trade-off: recessed units require more upfront work. You’ll open the wall, check for electrical and plumbing, reinforce framing if needed, and patch drywall afterward. For smaller projects, a 12-inch-wide shelf nook, this is manageable. For whole-wall systems, consider whether hiring a finish carpenter makes sense for your budget and timeline.
Floating Shelves With Concealed Brackets
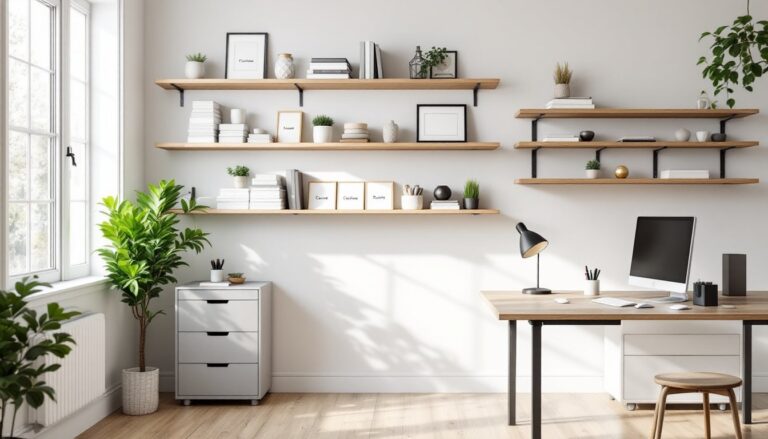
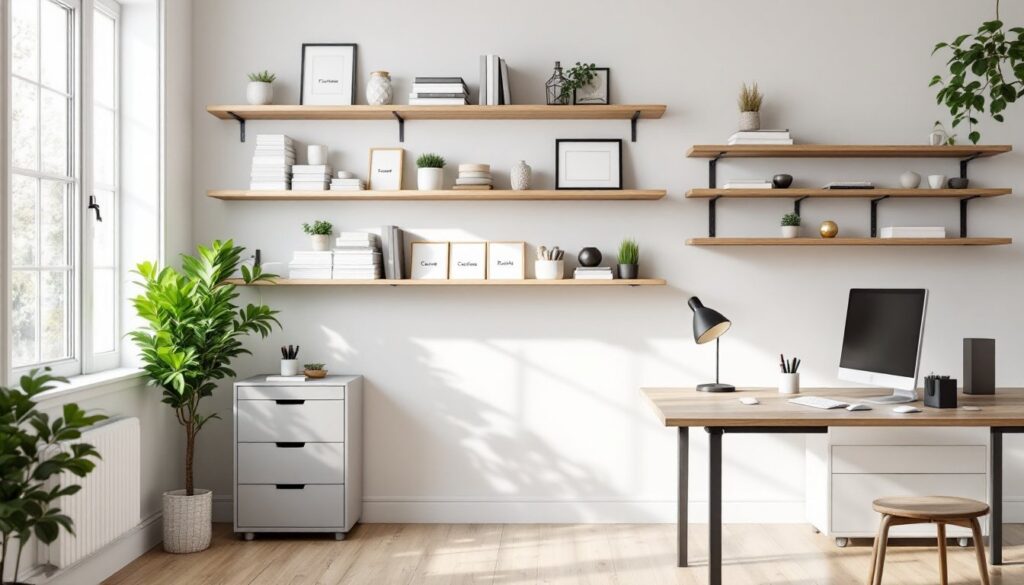
Floating shelves mount to hidden hardware fastened directly to studs or a mounting rail screwed to the wall. The shelves appear to levitate because brackets hide inside hollow compartments routed into the shelf’s underside. A solid hardwood shelf 1.5 inches thick can hide heavy-duty brackets rated for 50+ pounds without visible support.
This method is faster and less invasive than recessing. You don’t cut into the wall, so no drywall repair is needed. Floating shelves work for accent displays, narrow niches, or anywhere you want a modern look without surgery. They’re also easier to reconfigure: remove one shelf, reuse brackets elsewhere.
The catch: proper installation demands sturdy fasteners. Wall studs in most homes sit 16 inches on center. Bolting brackets to studs ensures the shelf handles real weight. Drywall anchors alone won’t support books or dishes long-term. If you need shelving between studs, install a horizontal 1×6 or 1×8 backing board screwed directly into studs first, then mount brackets to that solid substrate.
Planning Your Hidden Storage Project
Before reaching for a saw, measure twice and think through the entire system. Start by identifying the wall. Is it load-bearing? Are there electrical outlets, switches, or plumbing hiding behind it? A stud finder locates framing: an electrical outlet detector reveals live circuits. Modern stud finders cost $15–30 and take guesswork out of fastener placement.
Next, check local codes. Recessed storage in kitchens and bathrooms may trigger code requirements for ventilation, fireblocking, or electrical setbacks. Jurisdictions vary widely, what’s fine in one county requires permits in another. When in doubt, call your building department. A ten-minute conversation saves rework later.
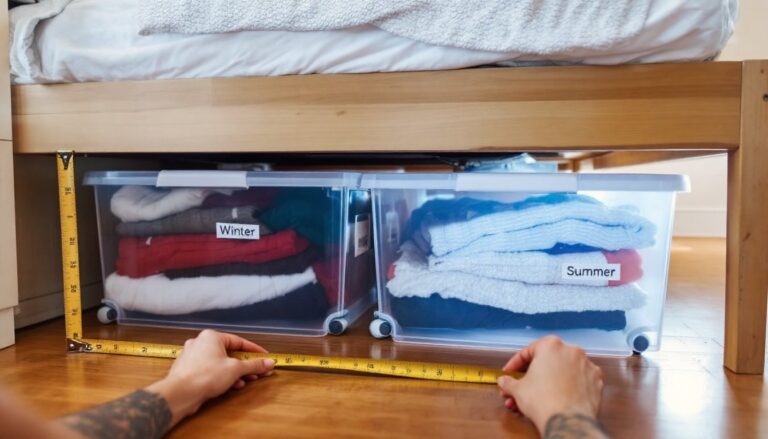
Sketch your design to scale using your wall’s actual dimensions. Measure twice: mistakes at full-size construction are expensive. Note ceiling height, baseboards, crown molding, and any obstacles. A ¾-inch-thick oak shelf looks proportional in a wide alcove but appears fragile spanning a narrow space. Shelf spacing matters too: cookbooks need 11–12 inches: small collectibles can use 8-inch intervals.
Decide on materials early. Pine and poplar are budget-friendly but show dents. Hardwoods (oak, maple, walnut) cost more but age gracefully and hide scratches better. Plywood with veneer offers stability and wide widths without solid-wood price tags. Paint or stain? Paint is more forgiving if you’re new to finishing: stain demands skill to look intentional rather than blotchy.
Installation Considerations and Best Practices
Prep work separates pro results from amateur-hour mistakes. If opening a wall, shut off power to any circuits in that area using your breaker panel. Use a voltage tester (non-contact, about $10) to confirm wires are dead before you cut. Call a licensed electrician if unsure, electrocution isn’t a learning opportunity.
For recessed cabinets, mark your opening and cut carefully along studs. A reciprocating saw cuts through drywall quickly: a drywall saw (keyhole saw) gives precision for tight corners. Once the opening is cut, add a header and sill to distribute weight if you’re removing studs. This isn’t optional: a unsupported shelf spanning where a load-bearing stud was removed will sag and crack over time.
Measuring and leveling are non-negotiable. A laser level eliminates guesswork, books should sit flat, not creeping toward one edge. A 48-inch bubble level works too but requires steadier hands and more patience. When mounting floating shelves, use a level after fastening brackets but before loading. A shelf level when empty may bow under 40 pounds of dishes: a slight under-level (1/32 inch drop over 4 feet) actually looks better and prevents that bowing illusion.
For concealed bracket shelves, route or chisel a recess matching your bracket profile. Many DIYers skip this and just let brackets poke out, that defeats the point. A router and template make routing consistent: chisels work if you enjoy meticulous hand work. Once brackets are hidden inside, install your shelf with pocket holes (drilled at an angle and plugged) or simple screws from underneath where they won’t show.
Finish work matters. Fill screw holes, sand edges smooth, and apply primer-sealer before paint or stain. Two coats of paint ensures even coverage. For stain, apply conditioner first on softwoods like pine, it prevents blotchy absorption. Installation guides and detailed walkthroughs are available through resources like Instructables, which offer step-by-step visualizations that help clarify framing, fastening, and finishing techniques.
Alternatively, IKEA hacks like those documented online show how prefabricated components can be adapted and customized to create hidden storage. And for more complex carpentry questions, Fix This Build That offers detailed project planning and tool recommendations. Safety gear throughout: wear safety goggles when cutting drywall or routing, a dust mask during sanding, and hearing protection if running power tools for extended periods.
Conclusion
Hidden wall storage transforms cramped homes into organized, spacious-feeling spaces. Whether you choose recessed cabinetry or floating shelves with concealed brackets, success depends on careful planning, accurate measurement, and honest assessment of your skills. Patch walls, level shelves, and fasten to studs, these basics prevent regret. Start small with a single floating shelf if you’re new to this: confidence and skills build from there.