Table of Contents
ToggleKitchen clutter doesn’t just waste space, it kills your workflow and makes cooking less enjoyable. A well-chosen storage rack transforms dead space into functional storage while keeping everyday essentials within arm’s reach. Whether you’re working with a galley kitchen or a sprawling prep area, the right storage rack system cuts down on cabinet crowding, reduces wasted shelf space, and brings order to pots, pans, spices, and small appliances. This guide walks through the types of racks available, how to pick the right one for your layout, installation basics, and design strategies that balance form and function.
Key Takeaways
- A storage rack for kitchen transforms wasted vertical space into functional storage without expensive renovations, making everyday essentials accessible and speeding up meal prep.
- Wall-mounted racks bolted into studs handle 50–100 pounds per shelf and require locating studs with a stud finder and using 3/8-inch lag bolts, while freestanding options offer flexible, renter-friendly alternatives.
- Measure your available space (height, width, and depth), assess what you’ll store (weight and frequency of use), and choose materials like stainless steel for durability or wood for warmth based on your kitchen’s moisture level.
- Installation success depends on using a level for horizontal shelves, drilling pilot holes to prevent drywall splitting, and ensuring vertical rails are perfectly plumb before fully tightening fasteners.
- Organize your storage rack by frequency of use with daily items at eye level, group similar items together, and use clear containers and labels to maintain order while keeping the visual aesthetic intentional and uncluttered.
- Freestanding kitchen storage racks provide flexibility for renters and homes where wall drilling isn’t an option, with prices ranging from $30–$80 for basic wire models to $150–$400 for wall-mounted stainless systems.
Why Kitchen Storage Racks Are Essential for Every Home
A typical kitchen wastes surprising amounts of vertical space. Walls above counters, corners, and the area between upper and lower cabinets all go unused in many homes. Storage racks exploit that wasted real estate without requiring expensive cabinet retrofits or major renovations.
Also, visible storage, when done right, actually speeds up meal prep. Hanging pots and pans, keeping oils and vinegars at eye level, and storing cutting boards vertically cuts down on digging through cabinets every time you cook. Open storage also forces you to be honest about what you actually use and what’s just taking up space.
For renters or anyone who doesn’t want to commit to permanent changes, freestanding and removable racks offer flexibility. You can take them with you, adjust their position, or swap them out as your needs evolve. Even in owned homes, racks are far easier to modify or remove than cabinetry.
Types of Kitchen Storage Racks to Consider
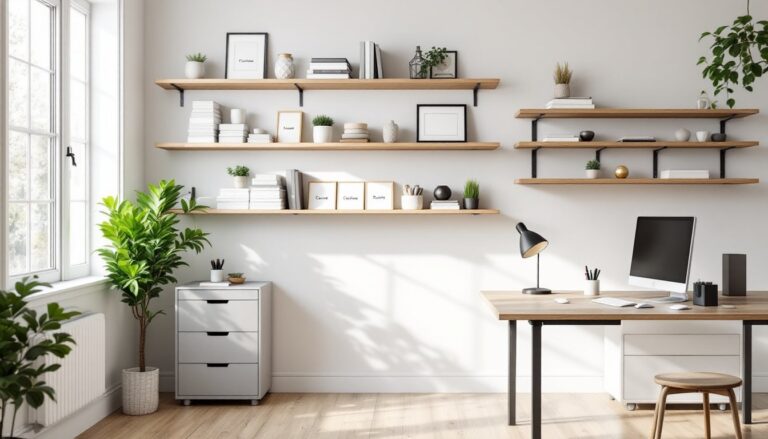
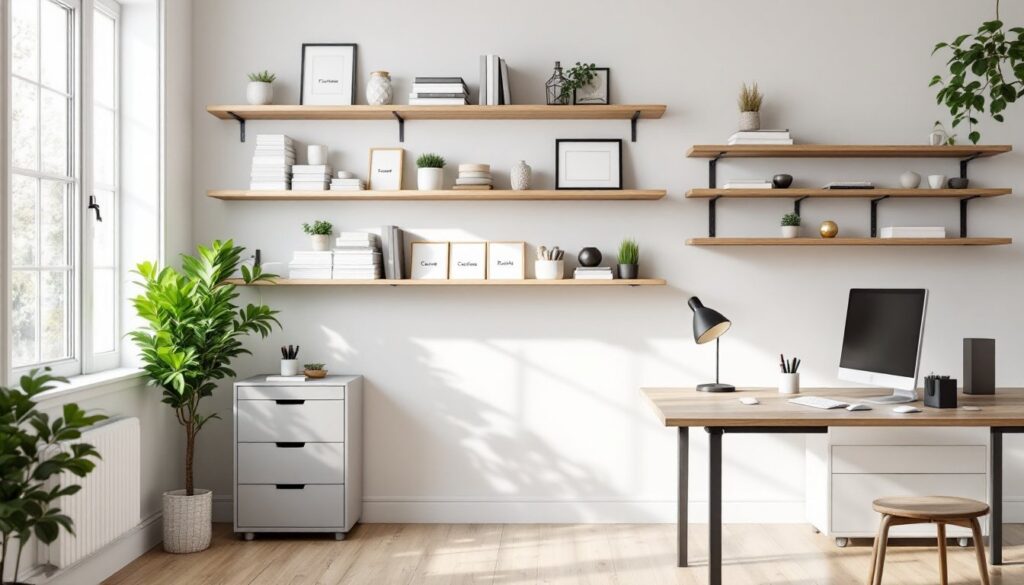
Wall-Mounted and Shelving Racks
Wall-mounted racks are the workhorse of kitchen storage. They bolt directly into studs (the vertical framing behind drywall), making them stable and capable of holding serious weight. Steel and aluminum rails are most common, they’re durable, affordable, and available in various finishes (stainless, black, chrome). Expect standard rails to handle 50–100 pounds per shelf, depending on material and bracket spacing.
Shelving racks, essentially brackets that support a solid shelf or grating, work well for stacking bowls, storing appliances, or organizing dry goods. When installing wall-mounted shelving, always locate studs with a stud finder and use lag bolts or heavy-duty anchors rated for your expected load. Standard 16-inch stud spacing in North American homes means brackets should land 16 inches apart (center to center) for best support. Shelf storage solutions can multiply your usable kitchen area without consuming valuable floor or cabinet real estate.
Freestanding and Corner Racks
Freestanding racks don’t require any fastening, they’re portable and ideal for kitchens where drilling into walls isn’t an option. Metal wire shelving is the budget option: solid wood or laminate shelves on metal frames offer a more finished look. These units are lighter than wall-mounted systems and easier to reposition if your layout changes.
Corner racks target one of the most underused zones in a kitchen: the corner. They’re L-shaped or fit snugly into a 90-degree angle, making them practical for spice racks, oils, or cookbooks. Freestanding corner units don’t need anchoring, though taller units (over 48 inches) should be positioned away from high-traffic paths to avoid tipping. Stackable storage solutions offer similar flexibility and can grow or shrink as your needs change.
How to Choose the Right Storage Rack for Your Kitchen
Start by measuring your available space: height from counter to underside of upper cabinets, wall width, and depth you can spare without blocking traffic. Most wall-mounted racks are 12–18 inches deep: freestanding units range from 10–24 inches. Undersized racks won’t solve your clutter problem: oversized ones feel cramped.
Consider what you’re actually storing. Heavy cast-iron pans and dutch ovens demand sturdy wall-mounted brackets bolted into studs: lightweight spice jars and oils work fine on a slender freestanding unit. If you’re storing frequently used items, prioritize easy access, around eye level for the best ergonomics.
Material choice balances durability, style, and maintenance. Stainless steel and powder-coated steel resist rust and are easy to wipe down. Chrome looks sleek but shows fingerprints. Wood shelves add warmth but need sealing in moist kitchens. Wire shelving is cheapest and allows airflow but can sag over time if overloaded.
Budget matters too. A basic freestanding wire rack runs $30–$80: a wall-mounted stainless system with multiple shelves costs $150–$400. Custom or high-end designs exceed that, but for DIY home improvement projects, mid-range options deliver solid value. Check reviews for collapse or rust complaints, not just aesthetics.
Installation Tips and Best Practices
Wall-mounted racks require studs. Use a magnetic stud finder (or knock along the wall listening for the solid sound of framing) to locate them. Mark their positions with painter’s tape so you don’t guess.
For mounting, drill pilot holes first, these small-diameter holes guide the larger fastener and prevent the drywall from splitting. If you’re mounting into studs, 3/8-inch lag bolts work reliably: use 2.5–3 inches long to catch solid wood. For shallow shelving in non-stud locations, toggle anchors or molly bolts rated for your load will do the job, but expect maximum 25–30 pounds total per anchor.
Use a level, even small slants look wrong and cause items to slide or tip. Shelves should be perfectly horizontal: vertical rails perfectly plumb (true vertical). Check in both directions before tightening all fasteners fully.
For freestanding units, measure the floor for square (compare diagonal measurements: they should be equal). Shim the base with shims or adjustable feet if the floor is slightly uneven. Never assume your kitchen floor is level, most aren’t.
Always wear safety glasses when drilling overhead and work gloves when handling sharp metal edges. If you hit electrical wiring or plumbing while drilling, stop immediately and relocate. When in doubt about wall depth or what’s behind drywall, consult a professional before fastening anything.
Maximizing Organization and Style
Once your rack is installed, organize intentionally. Group by frequency of use: daily items at eye level, occasional-use items higher or lower. Spices group together: baking supplies together: oils and vinegars together. Clear containers or jars for dry goods make contents visible and look tidier than loose bags.
Use vertical dividers or small bins to prevent pots from sliding around. Wire baskets on shelves corral loose items like foil or parchment. Label everything with a label maker or painter’s tape, it sounds fussy, but it keeps housemates and family members honest about putting things back in the right spot.
Styling an open rack is different from cabinets. Avoid visual chaos by limiting colors: stick to 2–3 dominant colors (white, stainless, black) with 1–2 accent colors (a pop of color in bottles or dish towels). Arrange items by height, graduating taller items to the back or sides. Home organization guides and design sites offer dozens of examples, scan a few for inspiration, but don’t get so caught up in Instagram perfection that you sacrifice function.
For renters or anyone hesitant about wall-mounted systems, freestanding racks paired with good lighting can look intentional and polished without permanent damage. Motion-sensor under-cabinet lights or adhesive LED strips highlight what’s on the racks and make your kitchen feel more open.