Table of Contents
ToggleClutter has a way of creeping into every corner of a home. Whether it’s a garage filled with forgotten tools, a craft room overflowing with supplies, or a laundry room stuffed with cleaning products, finding functional storage without sacrificing floor space remains a challenge for most homeowners. Wall mounted storage bins solve this problem elegantly and practically. By moving items off the ground and onto vertical wall space, these bins free up room while keeping everything within arm’s reach and organized. They work in garages, kitchens, home offices, and workshops alike. The best part? Many installations are straightforward enough for a weekend DIY project, and they deliver immediate, visible results.
Key Takeaways
- Wall mounted storage bins reclaim floor space and improve organization by moving items onto vertical walls, freeing up room while keeping everything within easy reach and visible.
- Choose the right material based on your environment: plastic bins ($10–$30) for lightweight items, metal ($25–$60+) for heavy-duty workshops, and wood for climate-controlled indoor spaces.
- Always mount wall mounted storage bins into wall studs or use proper anchors—studs support 50+ pounds per bin, while drywall anchors handle under 25 pounds and are suitable for lighter storage.
- Label all bins clearly with masking tape or label makers to prevent confusion and ensure everyone in your household knows exactly what and where items are stored.
- Do a dry layout with tape or chalk before drilling to identify spacing, height, and accessibility issues, ensuring bins don’t obstruct doorways, windows, or light switches.
- Wall mounted storage bins work effectively in garages, laundry rooms, home offices, pantries, and entryways, adapting easily as seasonal needs and household requirements change.
Why Wall Mounted Storage Bins Are Perfect for Modern Homes
Wall mounted storage bins aren’t just trend-conscious, they solve real spatial and organizational challenges. Modern homes, whether compact apartments or larger houses, rarely have excess floor space to waste on bulky shelving units. Mounting bins to the wall reclaims that square footage for movement, work, or simply living.
These bins also improve visibility and accessibility. When items are stored in labeled bins at eye level or slightly above, you can grab what you need without rummaging through stacks or reaching into dark corners. This is especially valuable in workshops or pantries where quick access to supplies matters. Also, wall mounted storage creates a cleaner aesthetic than floor-based storage, no more visual clutter from towers of boxes or bins scattered along the floor.
From a practical standpoint, wall mounted bins protect items from moisture, dust, and accidental kicks or spills common with ground-level storage. In garages and basements prone to dampness, elevating bins helps prevent water damage. Safety-wise, moving heavier items off the floor reduces trip hazards and keeps zones more navigable, which is especially important in high-traffic areas or homes with children and pets.
Finally, they’re remarkably flexible. You can add or remove bins as needs change, rearrange them to suit seasonal projects, and customize the wall layout without major renovation. This adaptability makes them ideal for renters and homeowners alike.
Types of Wall Mounted Storage Bins to Consider
Plastic vs. Metal vs. Wooden Options
Plastic bins are the most common choice and for good reason. They’re lightweight, affordable (typically $10–$30 per bin), and come in dozens of colors and sizes. Clear plastic allows you to see contents without opening. But, plastic can become brittle in direct sunlight over years and doesn’t handle heavy loads well, limit weight to 15–20 pounds per bin depending on wall anchor strength.
Metal bins, usually galvanized steel or aluminum, are heavier-duty workhorses. They handle weight better than plastic (up to 40–50 pounds per properly anchored bin) and suit industrial or workshop aesthetics. Expect to pay $25–$60+ per bin. Downsides include rust risk if not powder-coated or stainless steel, and they conduct temperature, so contents can freeze or overheat in uninsulated spaces.
Wooden bins bring warmth and can be built custom or purchased pre-made. A DIYer can build simple wooden crate-style bins for $15–$30 in materials and paint or stain them to match décor. The trade-off is durability, wood can swell or rot in moist environments and requires periodic maintenance. Many wooden bins work best indoors in climate-controlled spaces.
Choose based on environment and load. Garages and workshops favor metal or heavy-duty plastic. Craft rooms and home offices suit wood or clear plastic. Outdoor-adjacent spaces need galvanized or stainless steel to resist rust. When mounting multiple bins, ensure your wall anchors and wall structure support the total load, not just a single bin.
How to Choose the Right Wall Mounted Bins for Your Space
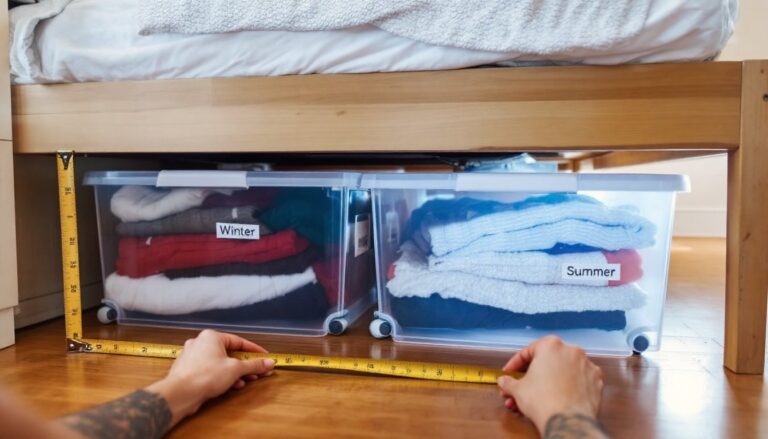
Start by assessing what you’re storing. Heavy hand tools need stronger bins than lightweight craft supplies. Measure the items themselves, a bin that looks spacious empty can feel cramped with actual contents. Bins should accommodate your typical items with 10–15% headroom so lids close or items don’t spill when reaching in.
Wall type matters enormously. Drywall anchors work for light-duty loads (under 25 pounds total per bin on standard drywall). For heavier loads or repeated access, you need to mount directly into studs (the vertical wood framing behind drywall, typically spaced 16 inches apart). Studs support up to 50+ pounds per properly fastened bin. Use a stud finder to locate them, they cost $15–$40 and take seconds to use. If studs aren’t convenient, consider a heavy-duty French cleat system, which distributes weight across a larger wall area and is easier to adjust than individual anchors.
Consider your wall height and sight lines. Bins at eye level (roughly 48–60 inches from floor) are most accessible and visible for organizing. Higher bins work for seasonal or rarely accessed items. Ensure bins don’t obstruct doorways, windows, or light switches, and leave clearance for opening bin lids or drawers.
Finally, label your bins clearly. Use masking tape, permanent markers, or printed label makers, whatever works best for your situation. A small investment in labeling prevents the “I know what I stored here” problem and keeps everyone in the household on the same page about organization. References like those on instructables show DIYers how to customize storage bins with paint, trim, and mounting hardware to match their space.
Installation Tips and Best Practices
Preparation is everything. Before drilling or anchoring anything, gather your bins and do a dry layout on the wall with tape or chalk. This reveals spacing issues, height problems, or awkward gaps before fasteners are in place. A level and a tape measure are non-negotiable tools.
Finding studs: Use a stud finder to locate and mark studs with a pencil. If studs are inconveniently placed, you have options. Drywall anchors (toggle bolts or expanding anchors) work well for bins under 20 pounds per unit: they cost under $1 each. For heavier bins, a French cleat, two pieces of lumber cut at 45-degree angles and fastened together, distributes weight beautifully. Mount the cleat to studs, then hang bins from it.
Fastening: Use screws rated for your anchor type and wall material. For studs, 2.5-inch wood screws or bolts are typical. Always pre-drill holes in plastic or thin metal bins to prevent cracking or tearing. For wall anchors, follow the package instructions precisely, undersized fasteners fail under load.
Safety gear: Wear safety glasses when drilling overhead (dust and debris fall), and use a dust mask if drilling into old drywall or plaster, which may contain asbestos in homes built before the 1980s. If asbestos is a concern, hire a professional.
Weight distribution: Don’t overload a single bin. Fill bins evenly and check that the wall surface shows no cracks or bulging after mounting. If bins seem to sag or fasteners feel loose after a week, tighten them immediately. Articles on DIY wall mounted storage bins walk through hacking standard bins into secure wall-mounted systems using straightforward hardware.
Creative Ways to Use Wall Mounted Storage Bins
Garages are the obvious first choice. Mount bins above workbenches for hand tools, fasteners, and supplies, keeping the work surface clear. A well-organized tool wall saves time and prevents buying duplicates.
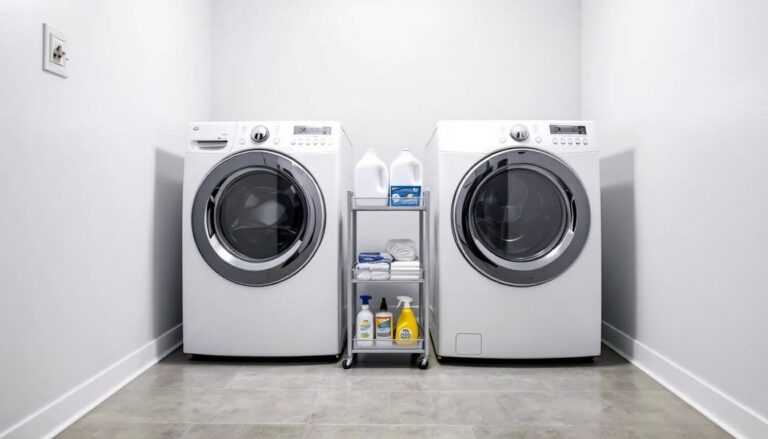
Laundry rooms benefit from bins sorted by fabric type or laundry stage (delicates, towels, items waiting for repair). Clear bins let you see when supplies are running low without opening lids.
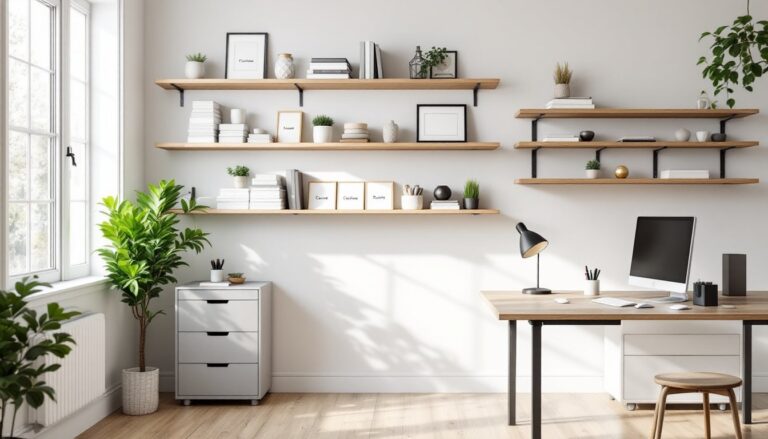
Home offices and craft rooms use bins to store supplies by category, pens, paper, paint, ribbons. Vertical storage turns a chaotic desk into a professional workspace. Small bins on a pegboard or wall rack keep supplies accessible for ongoing projects.
Pantries and kitchens work well with bins for non-perishable snacks, baking supplies, or packaged goods. Label clearly and use uniform bin colors or sizes for visual cohesion. This approach is especially useful in small kitchens where cabinet space is premium.
Entryways can use low-mounted bins for shoes, hats, scarves, and seasonal items. This keeps clutter off floors and hooks visible. Parents find this setup invaluable for managing kids’ gear.
Bathrooms use small wall-mounted bins to organize medications, first-aid supplies, cleaning products, and hair care items. Mount them out of reach of children if necessary. Examples like those shown in 17 clever wall storage ideas demonstrate bins paired with shelves and hooks for multifunctional wall organization. You can also explore stackable storage concepts to combine wall-mounted bins with other organizational systems for maximum efficiency.
Conclusion
Wall mounted storage bins are a practical, affordable way to reclaim floor space and keep items organized. Whether you choose plastic, metal, or wood, the key is matching the bin type to your environment and load needs. Install them correctly into studs or with proper anchors, plan your layout carefully, and label everything. The result is a functional, cleaner space that works harder for you. Start with one wall and expand as you see how effective the system becomes.